
Ever wonder why some photos and videos look so much better than others? Often, the secret ingredient is good lighting! Understanding light can transform your everyday pictures into amazing memories.
1. What is natural light?
Natural light simply means light that comes from nature, primarily the sun. It's the most common and often the most beautiful type of light available. Think about how bright and clear everything looks outdoors on a sunny day – that's natural light at its best.
2. What is artificial light?
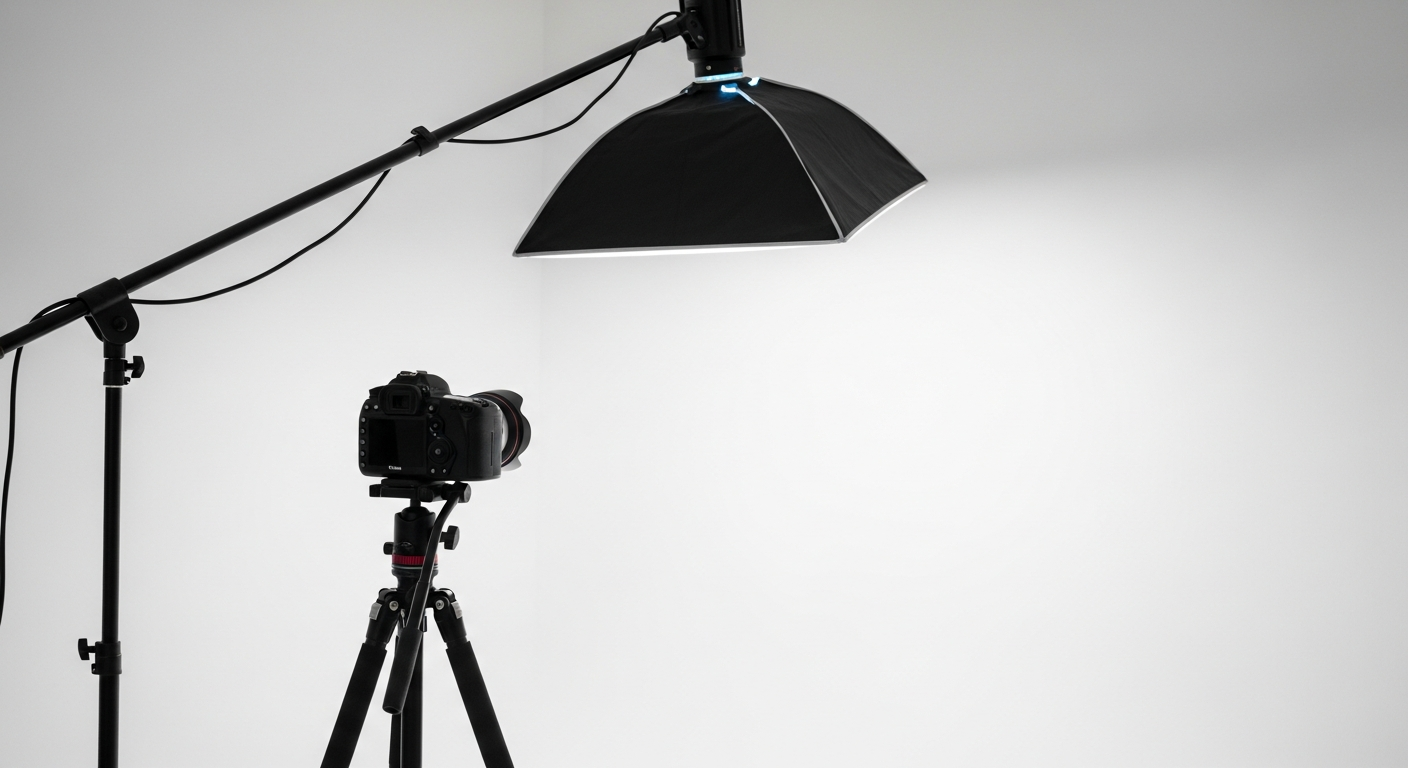
Artificial light is any light source created by humans. This includes things like lamps, flashlights, studio lights, or even the screen of your phone. You use artificial light when natural light isn't enough or when you want to control the light more precisely.
3. How does light direction affect my subject?
The direction of light changes how your subject looks. Light from the front makes things look flat. Light from the side creates shadows that add depth and shape. Light from behind (backlighting) can create a glowing outline but might make your subject dark if not used carefully.
Front Lighting
- Light shines directly on the front of your subject.
- Reduces shadows, making the subject look flatter.
- Good for showing details clearly.
Side Lighting
- Light shines from the side of your subject.
- Creates shadows and highlights, adding depth.
- Great for showing texture and shape.
4. What is the golden hour?
The golden hour is the period shortly after sunrise or before sunset. During this time, the sun is low in the sky, casting a soft, warm, and often magical light. It's highly sought after by photographers because it makes everything look beautiful and flattering.
5. How can I use a window for good light?
A window is a fantastic natural light source indoors. Position your subject facing the window for soft, even light. If the light is too bright, you can use a sheer curtain to diffuse it, making it even softer. This setup is perfect for portraits or product photos.
6. What is backlighting and how do I avoid it?
Backlighting happens when the main light source is behind your subject, shining towards your camera. This often makes your subject appear as a dark silhouette. To avoid it, simply move your subject so the light source is in front of them or to their side, not directly behind.
7. How can I take photos in low light?
Taking photos in low light can be tricky. Try to find any available light source, even a small one. Use a tripod to keep your camera steady, or lean against something stable. Modern phones and cameras also have "night mode" features that help capture more light.
Improving Low Light Photos
-
Find Light
Look for any available light source, even small lamps or streetlights.
-
Stabilize
Use a tripod or steady your camera/phone against a solid surface to prevent blur.
-
Use Features
Enable "Night Mode" on your phone or camera if available. It helps capture more light.
-
Add Light
If possible, introduce a small artificial light source like a flashlight or a portable LED panel.
8. What is a light source?
A light source is simply anything that produces light. This can be natural, like the sun or a fire, or artificial, like a light bulb, a candle, or the flash on your camera. Every photo or video needs at least one light source to be visible.
9. How can I make my subject look brighter?
To make your subject brighter, you can move them closer to a light source, or add more light. You can also use a reflector – a simple white board or even a piece of foil – to bounce existing light back onto your subject, brightening up shadowed areas.
10. What is fill light?
Fill light is a secondary light source used to soften or "fill in" the shadows created by your main light. It doesn't need to be as strong as your main light. Think of it as a helper light that makes shadows less harsh, giving your subject a more balanced and pleasing look.