Thinking about diving into the world of digital photography? It's easier than ever to capture stunning images, whether you're using a phone or a fancy camera.
This guide will help you understand the basics and get started on your journey to taking great photos.
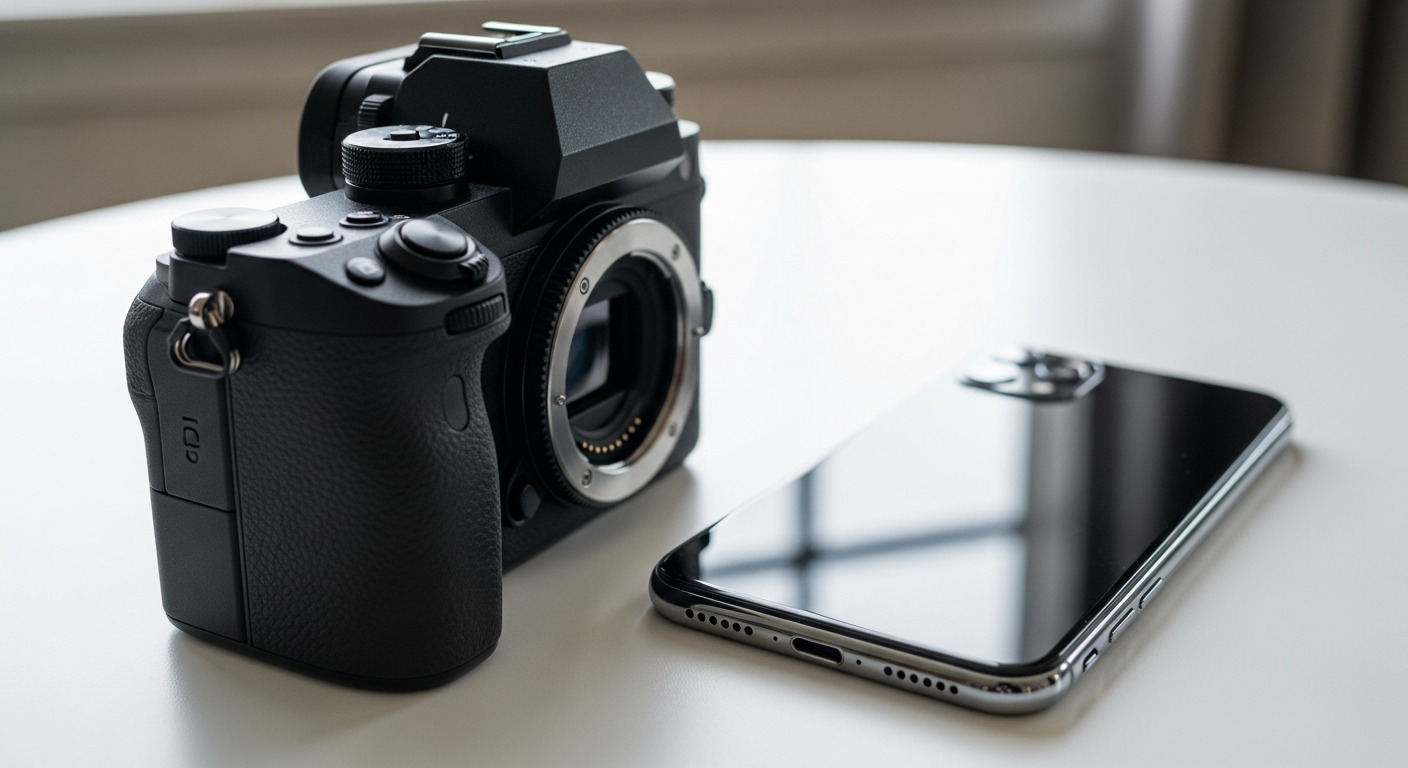
1. What's the difference between a smartphone camera and a dedicated camera?
A smartphone camera is built into your phone and is super convenient for everyday snaps. Dedicated cameras, like DSLRs or mirrorless cameras, are standalone devices designed specifically for photography. They usually have larger sensors and interchangeable lenses, which allow for much better image quality and more creative control.
2. Do I need an expensive camera to take good photos?
Absolutely not! While expensive cameras offer advanced features, a great photo comes more from the photographer's skill and understanding of light and composition. Many modern smartphones can take excellent pictures, and entry-level dedicated cameras are very capable. Focus on learning the basics first, not on buying the most expensive gear.
3. What basic settings should I know on my camera?
The three most important settings are Aperture, Shutter Speed, and ISO. These three work together to control how bright your photo is and how it looks. You'll also want to know about focus (making sure your subject is sharp) and white balance (making sure colors look natural). Understanding these will give you much more control over your images.
Smartphone Camera
- Always with you
- Easy to share photos instantly
- Great for quick snaps
- Limited creative control
- Small sensor size
Dedicated Camera
- Better image quality
- Interchangeable lenses
- More creative control
- Often larger and heavier
- Learning curve for settings
4. What's aperture and why is it important?
Aperture refers to the size of the opening in your camera lens that lets light in. A wider aperture (smaller f-number, like f/2.8) lets in more light and creates a shallow "depth of field." This means your subject will be sharp, but the background will be beautifully blurred, making your subject stand out. A narrower aperture (larger f-number, like f/16) lets in less light and keeps more of the scene in focus.
5. What is shutter speed and how does it work?
Shutter speed is how long your camera's shutter stays open to let light hit the sensor. A fast shutter speed (like 1/1000th of a second) freezes motion, perfect for sports or fast-moving subjects. A slow shutter speed (like 1/30th of a second or longer) allows more light in and can create motion blur, useful for artistic effects like silky water or light trails.
6. What is ISO and when should I change it?
ISO measures your camera's sensitivity to light. A low ISO (like 100 or 200) is best for bright conditions and produces the cleanest images with the least "noise" (graininess). A high ISO (like 1600 or 3200) makes your camera more sensitive to light, useful in dim environments when you can't use a slower shutter speed or wider aperture. Be aware that higher ISO settings can introduce more noise into your photos.
7. Should I use automatic or manual mode?
Automatic mode is great for beginners and quick shots, as the camera makes all the decisions for you. However, to truly learn and take creative control, try "Priority Modes" first. Aperture Priority (Av or A) lets you control aperture while the camera sets shutter speed. Shutter Priority (Tv or S) lets you control shutter speed while the camera sets aperture. Manual mode (M) gives you full control over all settings, which is ideal once you understand the basics.
The Exposure Triangle
How Aperture, Shutter Speed, and ISO work together.
Aperture
Controls how much light enters AND depth of field (blur).
↓Shutter Speed
Controls how long light enters AND motion blur/freeze.
↓ISO
Controls camera's sensitivity to light AND image noise.
↓Exposure
The overall brightness of your photo.
8. What's the best way to hold my camera steady?
Stability is key to sharp photos, especially in lower light or with slower shutter speeds. Hold your camera with both hands, one gripping the body and the other supporting the lens from underneath. Keep your elbows tucked into your body. You can also lean against a wall, sit down, or use a tripod for maximum stability. Practice breathing techniques to minimize movement as you press the shutter.
9. What are some essential accessories for beginners?
Start with a good camera bag to protect your gear. An extra battery is crucial, as is a spare memory card (or two!). A basic tripod can dramatically improve your photos in low light or for long exposures. A lens cleaning kit (microfiber cloth, blower brush) will keep your lens spotless. Don't feel pressured to buy everything at once; add accessories as you discover your needs.
10. How can I practice taking better photos?
The best way to improve is to shoot often! Experiment with different settings and subjects. Review your photos critically: What worked? What didn't? Try to understand light – notice how it changes throughout the day. Watch online tutorials, read articles, and join photography groups. Most importantly, don't be afraid to make mistakes; they are part of the learning process.
