Great lighting is the secret ingredient for amazing photos and videos, making everything look professional and clear. This guide will help you understand basic lighting techniques, even if you're just starting out.
1. What is natural light and how do I use it effectively?
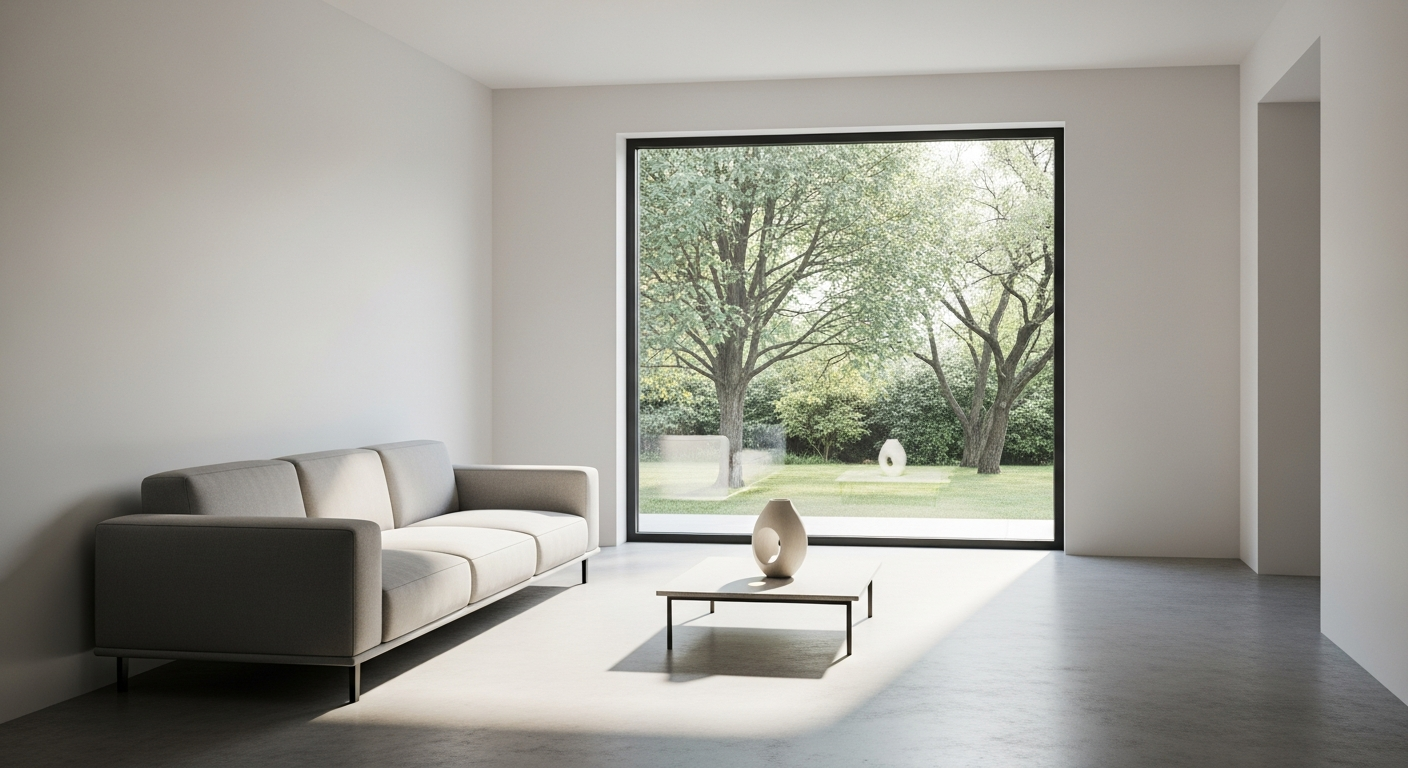
Natural light simply means light that comes from the sun. It's free and often the most beautiful light source available. To use it well, try to shoot outdoors during daylight hours or near a window indoors. Avoid direct midday sun, which can be too harsh.
Position your subject so the light hits them from the front or side. If you're indoors, turn off other lights to let the natural light be the main source. Experiment with different times of day to see how the light changes.
2. What is the "golden hour" and why is it special?
The "golden hour" is the period shortly after sunrise or before sunset. During these times, the sun is low in the sky, creating a soft, warm, and flattering light. It casts long, gentle shadows and makes everything look beautiful.
This light is special because it's less intense than midday sun, reducing harsh shadows and making skin tones look great. It's perfect for portraits, landscapes, and any scene where you want a magical, warm glow. Plan your shoots around these times for stunning results.
3. How can I use artificial light sources for photos?
Artificial light comes from man-made sources like lamps, flashlights, or dedicated photography lights. These lights give you control over brightness and direction, which is great for indoor or nighttime shooting. You can move them around to create different effects.
Start with one main light source and place it slightly to the side of your subject. You can use a desk lamp, a floor lamp, or even your phone's flashlight. The goal is to illuminate your subject evenly without creating distracting shadows.
Natural Light
- Free and readily available
- Soft, flattering quality (especially golden hour)
- Can be unpredictable (weather, time of day)
- Less control over direction/intensity
Artificial Light
- Full control over brightness and direction
- Consistent results, day or night
- Requires equipment (lamps, dedicated lights)
- Can look less "natural" if not used well
4. What is a reflector and how does it work?
A reflector is a simple tool, usually a disc or panel with a reflective surface, that bounces light onto your subject. It doesn't create light itself but redirects existing light, like sunlight or artificial light, to fill in shadows and brighten areas.
To use it, position the reflector opposite your main light source. For example, if the sun is on your subject's left, place the reflector on their right to bounce some sunlight back and soften shadows on that side. You can even use a white poster board or a large piece of foil as a DIY reflector.
5. How do I avoid harsh shadows in my photos?
Harsh shadows happen when a strong, direct light source hits your subject. To avoid them, try to use larger light sources or move your light further away. A larger light source, like a big window or a light with a diffuser, spreads the light more evenly.
You can also use a reflector to bounce light into the shadowy areas, softening them. Shooting on an overcast day or in the shade provides naturally soft light without harsh shadows. Indoors, position your subject away from direct overhead lights.
6. What is soft light versus hard light?
Soft light creates gradual transitions between light and shadow, with gentle, diffused edges. It's often described as flattering and smooth, ideal for portraits. Think of light on a cloudy day or light coming through a large window.
Hard light creates sharp, well-defined shadows with distinct edges. It's often used for dramatic effects or to emphasize texture. Direct sunlight on a clear day or a small, bare light bulb produces hard light. Understanding the difference helps you choose the right mood for your photo.
7. How can I light a subject for a video interview?
For a video interview, a common setup is the "three-point lighting" system, but you can start simpler. Use a main light (key light) positioned slightly to one side of the subject's face to provide primary illumination. This can be a lamp or a dedicated video light.
Then, if possible, add a second, softer light (fill light) on the opposite side to reduce shadows created by the key light. This makes the subject look more evenly lit and professional. Make sure the background isn't too dark or distracting.
Simple Video Interview Lighting
- Key Light: Main light source, positioned slightly to the side of the camera, aimed at the subject. Provides primary illumination.
- Camera: Positioned directly in front of the subject, capturing the interview.
- Subject: The person being interviewed, facing the camera.
- Fill Light (Optional): Softer light source on the opposite side of the key light, reducing harsh shadows.
- Background: Keep it tidy and uncluttered, not too bright or dark.
8. What is backlighting and when should I use it?
Backlighting occurs when the main light source is behind your subject, facing the camera. This creates a bright outline or "halo" effect around your subject, separating them from the background. It can be very artistic and dramatic.
Use backlighting to create silhouettes, where your subject appears as a dark shape against a bright background. Or, if you want to show detail, you'll need to add a fill light or reflector to illuminate the front of your subject. It's great for adding depth or a dreamy feel to photos.
9. How do I use a ring light for selfies or videos?
A ring light is a circular light source that provides very even, soft, and flattering illumination. It's popular for selfies, vlogging, and video calls because it wraps light around your face, minimizing shadows and creating a unique "catchlight" in your eyes.
To use it, place your camera or phone directly in the center of the ring light. Position the light so it's facing you head-on. Adjust the brightness to your liking. The even light helps smooth out skin tones and makes you look great on camera.
10. What are some DIY lighting solutions for beginners?
You don't need expensive gear to start! A large white bedsheet or shower curtain can be used as a diffuser to soften harsh light from a window or lamp. Just place it between the light source and your subject.
Aluminum foil crumpled and flattened can act as a reflector to bounce light into shadows. Desk lamps, flashlights, or even your phone's flashlight can serve as artificial light sources. Experiment with household items to see what works best for your needs.
