
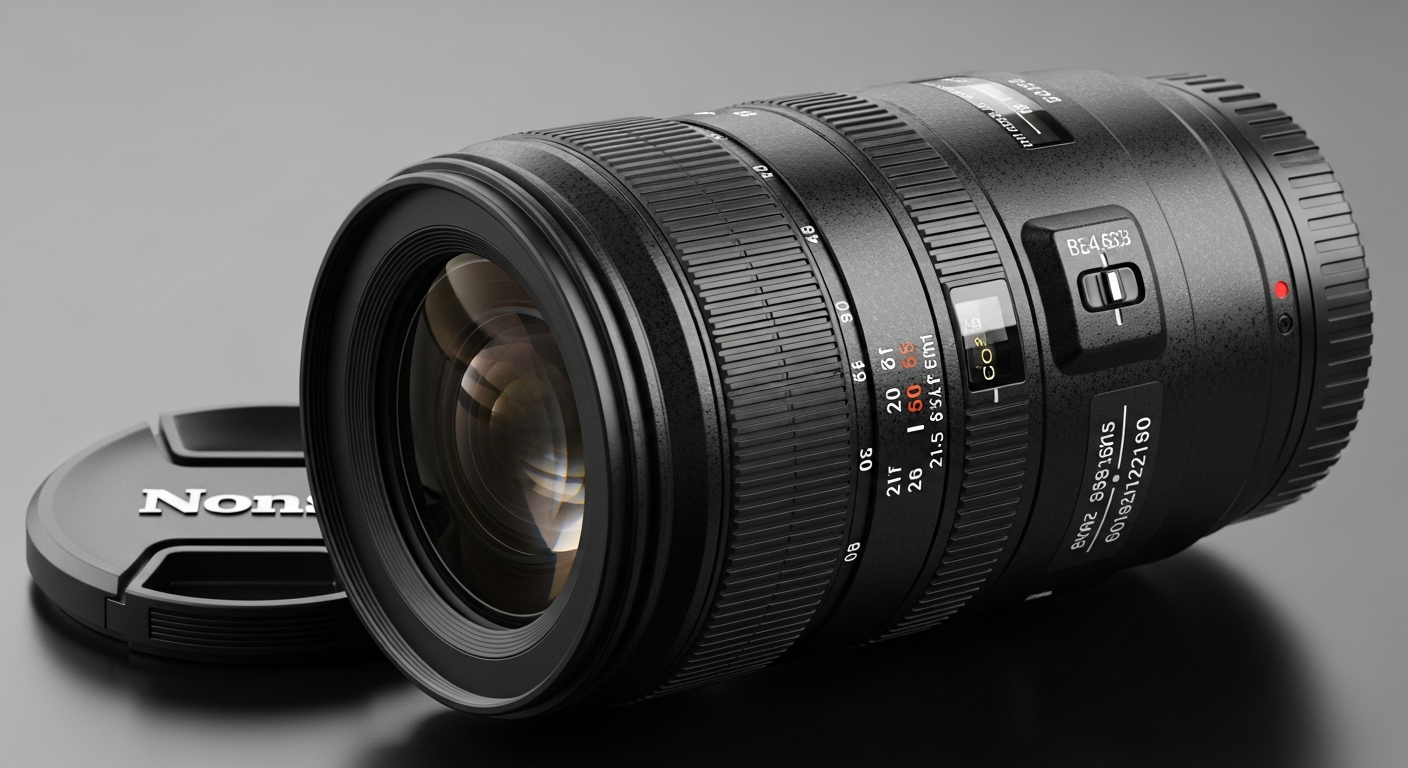
Learning about camera settings can seem tricky, but it's easier than you think! This guide will break down the most important terms like ISO, aperture, and shutter speed so you can start taking better photos today.
1. What is ISO and how does it affect my photos?
ISO controls how sensitive your camera's sensor is to light. Think of it like turning up the brightness on your eyes in a dark room. A lower ISO (like 100 or 200) is best for bright light and produces very clear, smooth photos. A higher ISO (like 1600 or 3200) is for darker situations, but it can make your photos look grainy or noisy.
Use low ISO for sunny days to keep your photos crisp. Use high ISO when it's dim, but be aware of the potential for graininess. Finding the right balance helps you get a properly lit photo without too much digital "noise."
2. What is aperture and what does it do?
Aperture is the opening inside your camera lens that lets light in, similar to how your eye's pupil opens and closes. It's measured in f-numbers (like f/2.8, f/8, f/16). A smaller f-number (like f/2.8) means a larger opening, letting in more light and creating a blurry background (called "bokeh").
A larger f-number (like f/16) means a smaller opening, letting in less light but keeping more of your photo in sharp focus, from front to back. This is great for landscapes where you want everything sharp.
3. How does shutter speed impact my images?
Shutter speed is how long your camera's shutter stays open to let light hit the sensor. It's measured in fractions of a second (like 1/1000s, 1/60s) or full seconds. A fast shutter speed (e.g., 1/1000s) freezes motion, perfect for sports or fast-moving subjects.
A slow shutter speed (e.g., 1/30s, 1 second) lets in more light and can create motion blur, like silky water in a waterfall photo. If it's too slow, even small hand movements can make your photo blurry, so a tripod is often needed.
Fast Shutter Speed (e.g., 1/1000s)
- Freezes action
- Less light enters
- Sharp moving subjects
- Good for bright scenes
Slow Shutter Speed (e.g., 1/30s)
- Blurs motion
- More light enters
- Creates artistic blur
- Good for low light (with tripod)
4. What is the exposure triangle?
The exposure triangle refers to the three main settings that control how bright or dark your photo is: ISO, aperture, and shutter speed. These three settings work together. Changing one often means you need to adjust another to keep your photo properly lit.
Think of them as three sides of a triangle. If you make one side longer (e.g., open up aperture for more light), you might need to shorten another (e.g., faster shutter speed) to maintain the same overall brightness. Understanding this balance is key to manual photography.
5. Should I use automatic or manual mode?
Automatic mode is great for beginners or when you need to take a quick shot without thinking about settings. The camera makes all the decisions for you. Manual mode gives you full creative control over every setting (ISO, aperture, shutter speed).
Start with automatic to get comfortable. As you learn, try "priority" modes like Aperture Priority (you set aperture, camera sets shutter speed) or Shutter Priority (you set shutter speed, camera sets aperture). These help you learn while still getting some camera assistance.
6. What is white balance and why is it important?
White balance tells your camera what "white" should look like under different types of light. Different light sources (sunlight, fluorescent bulbs, incandescent lamps) have different colors, making whites appear blue, orange, or green. White balance corrects these color casts.
If your photos look too blue or too orange, adjusting white balance will make colors appear more natural and accurate. Most cameras have presets like "Daylight," "Cloudy," "Tungsten," or "Fluorescent" to help you choose the right setting.
7. How do I get a blurry background in my photos?
To get that popular blurry background effect, often called "bokeh," you need a wide aperture. Set your camera to a low f-number (like f/1.8, f/2.8, or f/4). This opens up the lens, letting in more light and making the background soft and out of focus.
Also, try to get closer to your subject and have your subject further away from the background. Using a longer lens (like a zoom lens at its longest setting) can also help enhance the blur. These factors combined create a pleasing separation between your subject and the background.
Achieving Blurry Backgrounds
1. Wide Aperture
Use a low f-number (e.g., f/1.8, f/2.8). This opens the lens wider.
2. Get Closer
Move physically closer to your main subject.
3. Distance Subject from Background
Ensure there's space between your subject and what's behind them.
4. Use Longer Lens (Optional)
Zoom in with your lens to enhance the effect.
Result: Your subject is sharp, and the background is beautifully blurred.
8. How do I freeze fast motion in a picture?
To freeze fast-moving subjects, like a running pet or a splashing wave, you need a very fast shutter speed. Set your camera to a speed like 1/500th of a second, 1/1000th, or even faster, depending on how quick the action is.
The faster the shutter speed, the less light reaches the sensor. So, you might need to compensate by increasing your ISO or widening your aperture (using a lower f-number) to ensure your photo isn't too dark. Practice is key to finding the right balance for different speeds.
9. What is exposure compensation?
Exposure compensation is a setting that allows you to quickly make your photos brighter or darker, even when using automatic or semi-automatic modes (like Aperture Priority). It's usually shown as a +/- dial or button on your camera.
If your camera's automatic settings make a photo too dark, you can dial in a positive compensation (+0.3, +0.7, +1.0) to make it brighter. If it's too bright, dial in a negative compensation (-0.3, -0.7, -1.0). It's a handy tool for fine-tuning brightness without going full manual.
10. How do different light conditions affect settings?
Light conditions heavily influence your camera settings. In bright sunlight, you'll typically use a low ISO (100-200), a fast shutter speed (1/250s or faster), and a narrower aperture (f/8-f/16) if you want everything in focus.
In low light, you'll need to increase ISO (800+), use a wider aperture (low f-number like f/2.8), and potentially a slower shutter speed (1/60s or slower, possibly needing a tripod). Always remember the exposure triangle: adjust one setting, and you'll likely need to adjust another to keep your photo well-exposed.