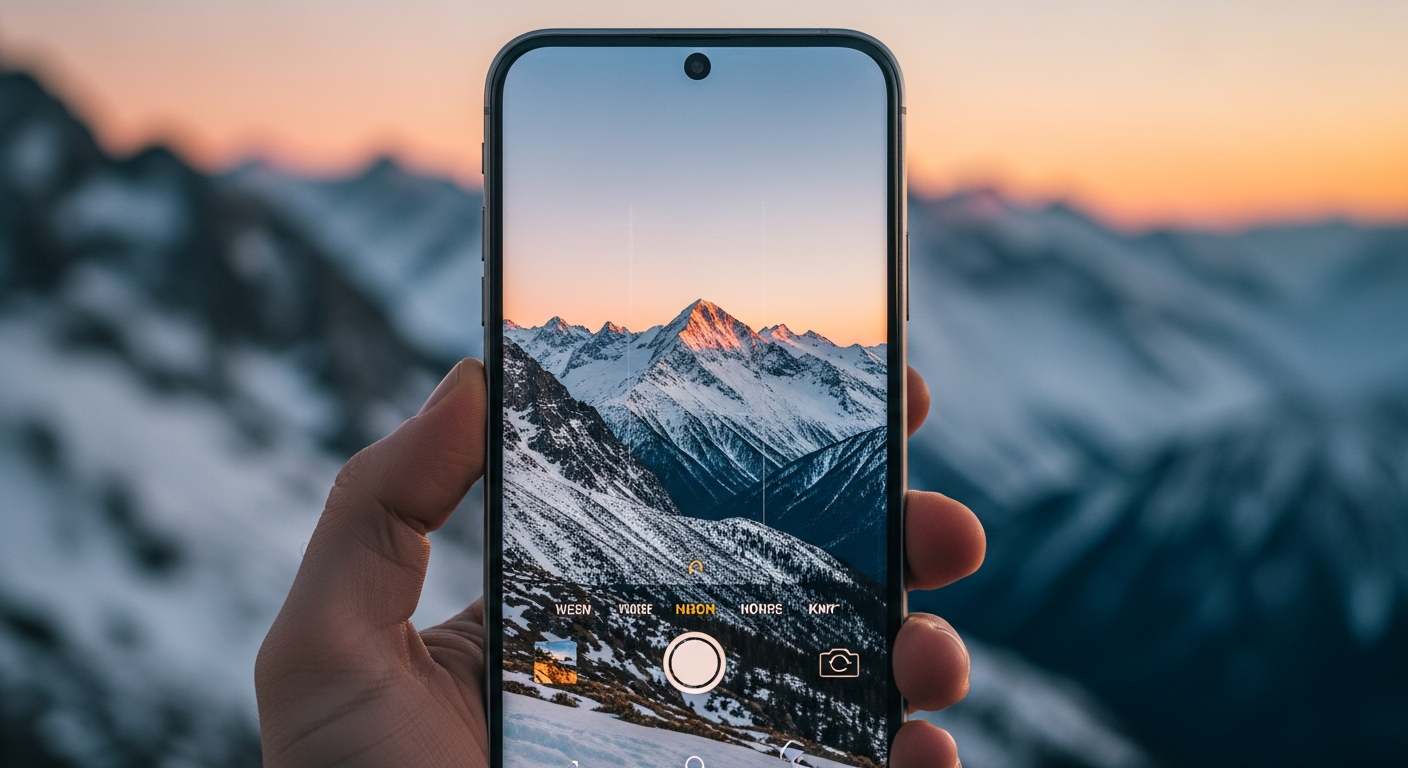
Want to take stunning photos without fancy gear? Your smartphone is a powerful camera, and with a few simple tricks, you can capture amazing moments.
This guide will help you unlock your phone's full potential, making you a smartphone photography pro in no time!
1. What are the best camera settings on my phone?
Start by using your phone's default camera app. Look for settings like "HDR" (High Dynamic Range) and turn it on for balanced light in bright and dark areas. Also, ensure your resolution is set to the highest quality for crisp, detailed pictures.
Many phones have a "Pro" or "Manual" mode. This lets you control things like ISO (light sensitivity) and shutter speed (how long the lens stays open). Experimenting with these can give you more creative control, but for most situations, automatic settings work great.
2. How can I improve lighting in my smartphone photos?
Good lighting is key! Always try to shoot in natural light, like near a window or outdoors. Avoid harsh overhead sun, which creates strong shadows. Instead, find open shade or shoot during "golden hour" (shortly after sunrise or before sunset) for soft, warm light.
If you're indoors, use available lamps or even a friend's phone flashlight to add extra light. Just be careful not to make the light too bright or create unwanted shadows. Experiment with different light sources to see what looks best.
3. What is the rule of thirds and how do I use it on my phone?
The "rule of thirds" is a composition guideline that helps make your photos more interesting. Imagine your screen divided into nine equal parts by two horizontal and two vertical lines. Instead of placing your main subject directly in the center, position it along these lines or at their intersections.
Most smartphone cameras have a grid overlay feature you can turn on in settings. Use this grid to help you align your subjects according to the rule of thirds. It creates a more balanced and visually appealing image.
Rule of Thirds (Recommended)
- Subject off-center
- Uses grid lines
- More dynamic photos
- Visually engaging
Centered Subject (Avoid Often)
- Subject in middle
- Ignores grid lines
- Can be less interesting
- Static composition
4. Should I use my phone's zoom feature?
It's generally best to avoid using your phone's digital zoom. When you "zoom in" on a smartphone, you're often just cropping and enlarging a part of the image, which makes the photo look pixelated and blurry. This is called digital zoom.
Instead of zooming, try to "zoom with your feet" – physically move closer to your subject if possible. If you can't get closer, take the photo without zooming and crop it later using an editing app. This will give you a much sharper result.
5. How do I clean my phone camera lens properly?
A dirty lens is a common cause of blurry or hazy photos. To clean it, gently wipe the lens with a soft, clean microfiber cloth. The kind you use for glasses or computer screens is perfect.
Avoid using harsh chemicals, paper towels, or your shirt, as these can scratch the lens. If there's stubborn grime, you can slightly dampen a corner of the microfiber cloth with a tiny bit of water, then wipe and dry immediately with another clean, dry part of the cloth.
6. What are some good free photo editing apps for smartphones?
Even great photos can be improved with a little editing. Popular free apps include Google Photos (often pre-installed), Snapseed, and Adobe Lightroom Mobile (free version). These apps let you adjust brightness, contrast, color, and crop your images.
Start with small adjustments. A little goes a long way! Experiment with different filters and tools, but remember the goal is to enhance your photo, not drastically change it. You'll be surprised what a few tweaks can do.
7. How do I take stable photos without a tripod?
Shaky hands lead to blurry photos. To keep your phone steady, hold it with both hands and tuck your elbows close to your body. You can also lean against a wall or sturdy object for extra support.
Another trick is to use your phone's volume buttons to take the picture instead of tapping the screen. This reduces the chance of moving the phone. Many phones also have a timer feature, which can help ensure no movement when the photo is taken.
Steps to Stable Smartphone Photos
8. What's the best way to take selfies with my phone?
For great selfies, good lighting is crucial. Face a window or a soft light source. Hold your phone slightly above eye level and angle it down a bit; this is often more flattering. Make sure your background isn't too distracting.
Instead of stretching your arm, consider using a selfie stick or asking a friend to help. Use your phone's timer or the volume button trick to avoid awkward hand positions. Experiment with different expressions and angles to find what works best for you!
9. How can I take better photos in low light with my phone?
Low light is challenging for smartphone cameras. To improve results, find any available light source, even a dim one. Keep your phone as steady as possible, using the tips from Q7. Many phones have a "Night Mode" – definitely use it!
Night Mode takes multiple photos and combines them to create a brighter, clearer image. Be patient, as it often requires you to hold the phone still for a few seconds. Avoid using the flash unless absolutely necessary, as it can create harsh, unnatural light.
10. What are some common mistakes to avoid in smartphone photography?
Avoid blurry photos by keeping your lens clean and holding your phone steady. Don't use digital zoom, as it degrades image quality. Pay attention to your background; a cluttered background can distract from your subject.
Also, don't over-edit your photos. Subtlety is key. Finally, take lots of pictures! The more you shoot, the better you'll get at finding good angles, lighting, and compositions. Practice makes perfect!
